Trending

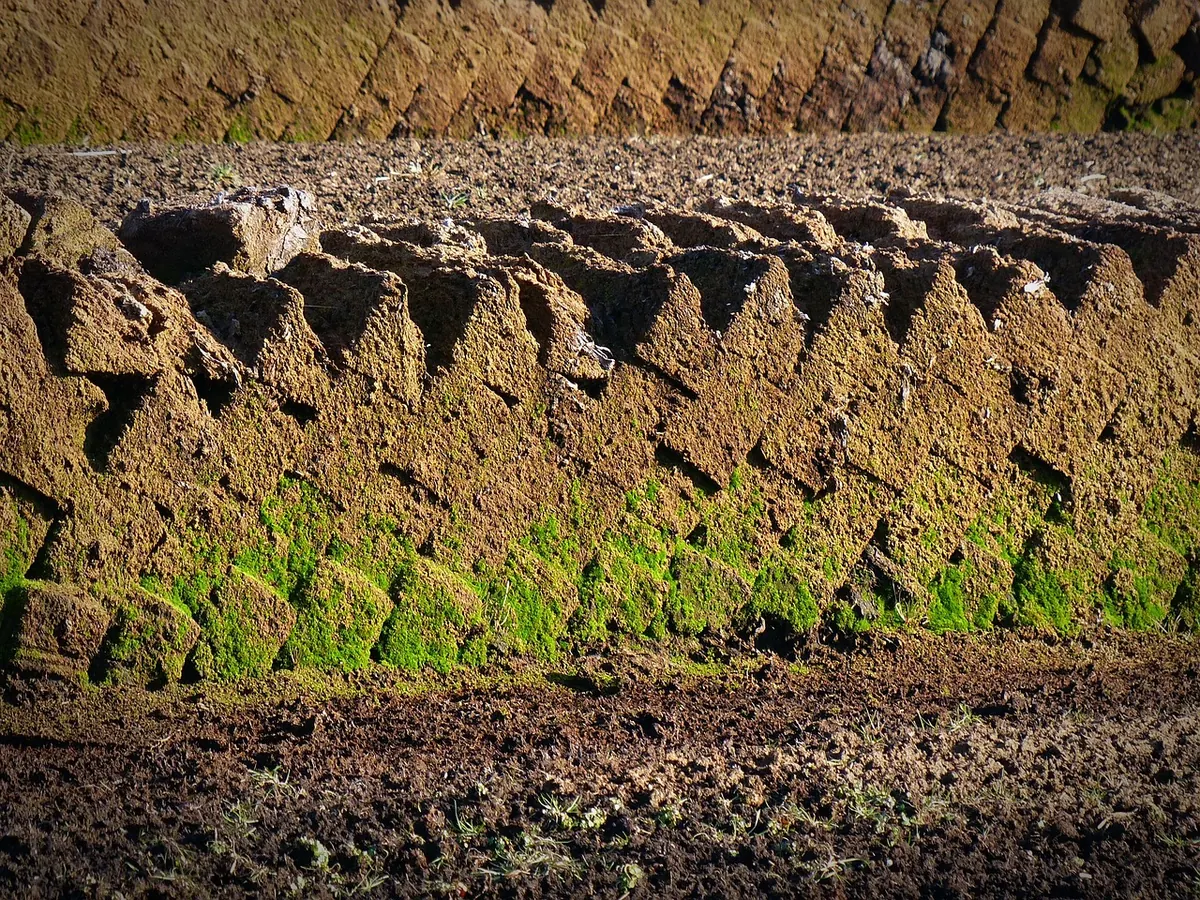
A bog looks like the quietest place in the landscape, and then you push a rod into it and find three metres of black peat under your boots. Peat soils hold a large share of the UK's land carbon, and bogs are where the deepest of it sits. Measuring that carbon is not glamorous work. You spend the day pushing steel into soft ground, cutting cores that threaten to fall apart in your hands, and later drying small bags of dark fibre in an oven. But the numbers matter: they feed national greenhouse gas inventories, restoration plans and peatland carbon projects. What follows is the standard fieldwork sequence, from probe to calculation.
Carbon stock is a mass per unit area — normally tonnes of carbon per hectare. To get there you need three things at each point: the depth of peat, the bulk density of that peat, and the carbon concentration of the dry material. Multiply the three, integrate across depth, and scale up by area.
There are two metrics worth keeping separate. A full-depth stock describes the whole peat body down to the mineral substrate, which is what a restoration project usually wants to report. A fixed-depth stock, say the top metre, is far easier to compare between sites because you are not mixing deep, dense catotelm peat with loose surface material. Decide which one you need before you leave the office.
Most bogs in the UK sit inside a protected designation of some kind, and many are common land. Get the landowner's permission, and check with the relevant statutory conservation body whether coring requires consent. A few days of planning saves an awkward conversation later.
For a day's work you will want:
Tell someone your route and your expected return time. Bogs hide old drainage ditches, and a hole that swallowed a spade will happily take a leg.
Peat depth and bulk density vary over a few metres, so where you sample matters as much as how. Start by mapping the obvious pattern: hummocks, hollows, lawns, and distance from any drain or gully. Then spread your points across those units rather than dropping them wherever the walking is easiest.
Transects work well, with points every 20 to 50 metres, and three or more replicate cores per vegetation type. Randomise your starting point if you want a defensible average. Record coordinates and a short habitat note for every core — you will not remember which hollow was which three weeks later.
Push the probe down steadily. Do not hammer it, and do not force it: a slow, even push tells you more about what you are passing through. Refusal does not always mean mineral ground. It can be a buried log, an iron pan or a compressed layer, so probe two or three times within a metre before you record a depth.
If the peat is deeper than your rod, bring up a core in 50 cm runs and add the sections together. For landscape-scale surveys, ground-penetrating radar can map peat depth across large areas, but it still needs probe data to calibrate it. Trust the rod, not the software.
The Russian auger is the workhorse for deep peat. Drive it to the top of your interval, turn it to cut, and withdraw slowly. Leave a 5 to 10 cm overlap between runs so you can match the layers. Wrap each section in clingfilm, label the top and bottom depths on the outside, and keep the core out of direct sun.
For the loose surface peat, a box corer or monolith tin gives you an intact sample with a known volume. Freeze coring, where a tube filled with coolant is driven into the bog and the frozen crust is lifted out, is the method of choice if you need fine laminae preserved.
Rule of thumb: if the recovered core is shorter than the depth you drove, you have compacted it and your volume is wrong. Note the shortfall, correct for it, or take the sample again.
Note the degree of humification on the von Post scale, the colour, the visible fibre content, and any macrofossils: Sphagnum remains, cotton grass, heather wood, charcoal. Flag silt or sand bands, because they signal water-borne material and change the calculation. Photograph the fresh face next to a ruler before it oxidises and darkens.
Cut a slice of known volume from a measured section of core. Dry it at 105 °C to constant mass — often overnight, and until repeated weighings agree. Bulk density is simply dry mass divided by volume.
Next, organic matter content. Loss on ignition at 550 °C burns off the organic fraction and leaves the ash, which is your mineral content. For carbon itself, an elemental analyser on a subset of samples is the honest route. If you must approximate, carbon is often taken as roughly half the mass of organic matter, but treat that as a placeholder and verify it on a few samples.
Here is the arithmetic, with an illustrative core:
Repeat for each layer, add them up, and report the mean of your replicates with the range. Depth-weighted averages are more useful than a single headline figure, and a stated uncertainty is more useful than either.
Write everything down in the field, including the things that went wrong. A core that refused to come up cleanly is still data if you record it.
Never extrapolate from one core to a whole bog. Peat bodies are lumpy, and a single deep point near a flush can double your site estimate. Keep sub-samples dried, labelled and archived so someone can re-analyse them later without a return visit.
Finally, work with the weather rather than against it. Wind and rain make fine fieldwork miserable and record sheets illegible, so build in a spare day. Take your time on the bog, probe before you step, and let the numbers come from careful measurement rather than optimism.
Photo: bernswaelz / Pixabay